Web Accessibility
Web accessibility is making the website or software accessible to all the users, including the people with disabilities (auditory, cognitive, neurological, physical, speech, and visual impairments). It also includes the ability to access website/software in slow network connection, in devices that have different input types or smaller screens, etc.
Basically, the application we build should be for everyone!
Spending some time making our React app accessible from the start can help to ensure a wider range of people can use all the amazing interfaces we building.
Thankfully, making React applications accessible requires only minor changes! In this blog, we will look into the ways to improve the accessibility of React application.
Let’s consider the example mentioned in React a11y codesandbox.
Ways to make React apps accessible
1. Using Semantic HTML
Semantic HTML is the foundation of accessibility in a web application. Using Semantic HTML properly based on the content provides accessibility by default.
1.Using <Fragment>
instead of <div> to wrap components -
  class TableHeader extends React.Component {
    render() {
      return (
        <div>
          <th>Name</th>
          <th>Occupation</th>
        </div>
      );
    }
  }
<div> breaks the semantics of the table.

Using <Fragment> instead of <div> fixes the UI.
  class TableHeaderFrag extends React.Component {
    render() {
      return (
        <Fragment>
          <th>Name</th>
          <th>Occupation</th>
        </Fragment>
      );
    }
  }

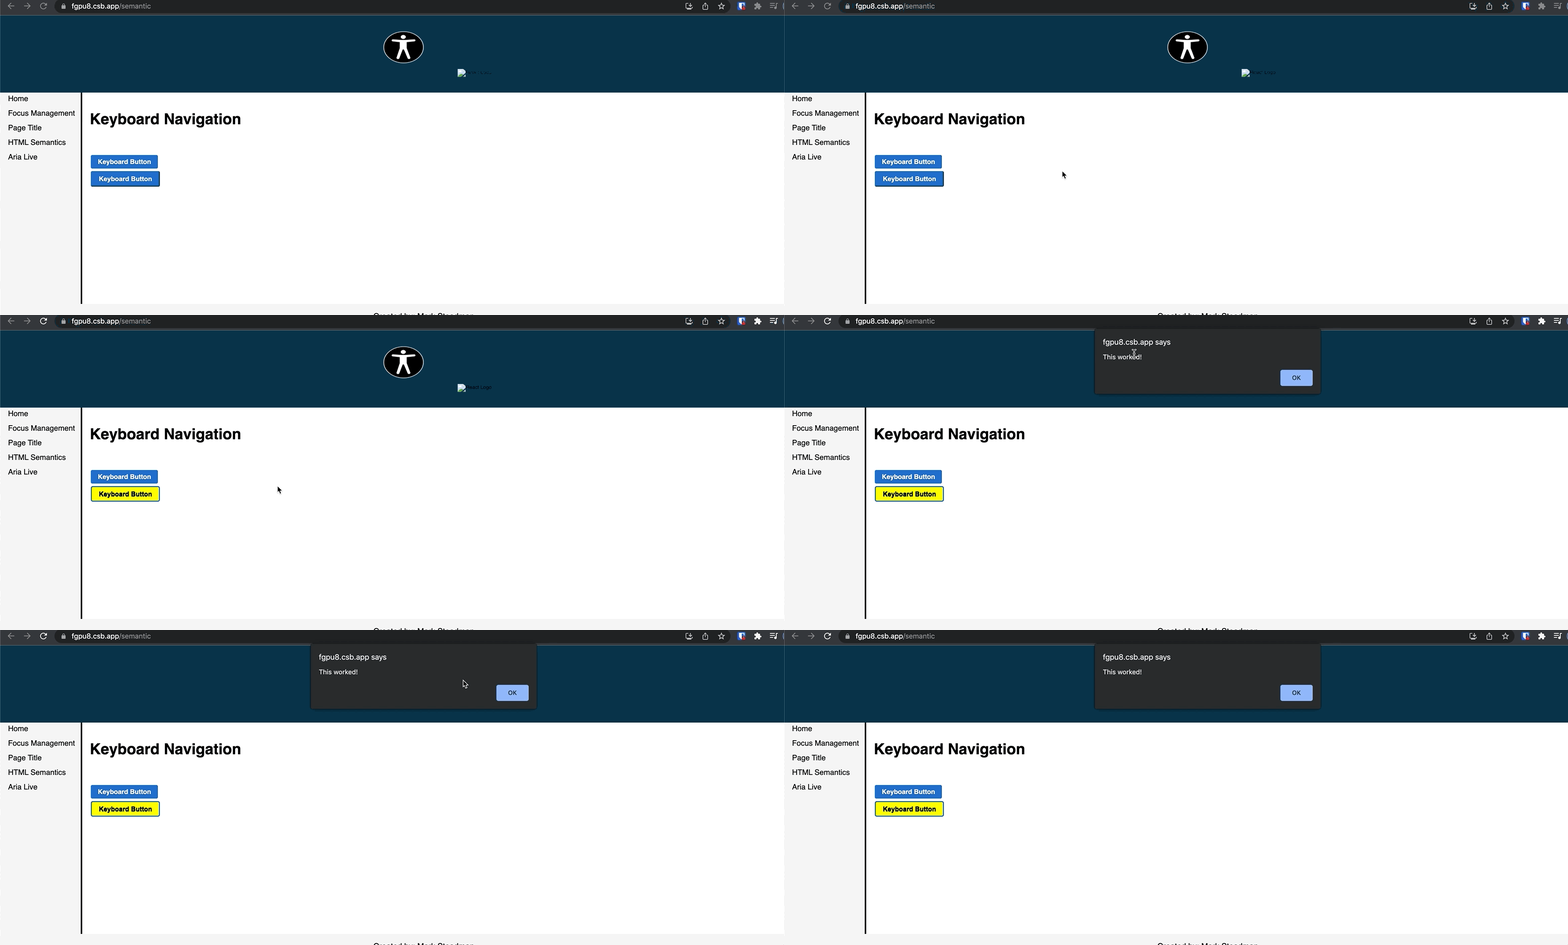
2.Using <button> instead of customizing <div> to behave like a button -
On navigating to a custom button using keyboard and hitting enter,
the onClick event is not called.
Whereas doing the same on the <button>, calls the onClick event.
Using the semantic Html
provides us out of box functionality for keyboard accessibility.
    //Customized button
    <div
      class="btn btn-primary"
      tabIndex="0"
      role="button"
      onClick={this.handleClick}
    >
      Keyboard Button
    </div>

    //Semantic Html
    <button
        className="btn btn-primary btn-large"
        onClick={this.handleClick}
      >
        Keyboard Button
      </button>

To make the onClick event work using a keyboard on the custom button,
we have to explicitly add onKeyPress={this.handleClick}.
2. Using ARIA attributes
ARIA (Accessible Rich Internet Applications ) is a collection of attributes that define ways to increase the accessibility of websites, applications, and web content.
We know that semantic markup makes our codebase more readable for screen readers. We can get even more specific now with ARIA attributes.
All aria-* HTML attributes are fully supported in JSX.
Most of the DOM properties and attributes in React are camelCased,
ARIA attributes should be hyphen-cased as they are in plain HTML.
In the below example, by looking at the aria-label,
we know what the button does.
render() {
  return (
    <button
      onClick={this.incrementSomething}
      aria-label='Increment Something'>
      +
    </button>
  )
}
3. Setting the document title
We should set the document <title> to
describe the user what the page is about!
- Using lifecycle method -
componentDidMount
  componentDidMount() {
    document.title = "Saeloun Blogs";
} return (
<DocumentTitle title="Saeloun Blogs">
<div>
<h1>React blogs</h1>
</div>
</DocumentTitle>
)- Using
react-helmetpackage
<div className="application">
  <Helmet>
    <meta charSet="utf-8" />
    <title>Saeloun Blogs</title>
  </Helmet>
</div>
4. Accessing forms
We need to provide descriptive labels to our form elements <input>, <textarea>
as we do for HTML forms to increase accessibility.
These standard HTML practices can be directly used in React.
The only difference is that the for attribute is written as htmlFor in JSX.
 <label htmlFor="namedInput">Name:</label>
 <input id="namedInput" type="text" name="name"/>
5. Focus management
We need to manage focus programmatically depending on the requirement. To set focus in React, we can use Refs to DOM elements.
In the below example, when we click on the ‘Show Focus’ button using a mouse or keyboard, the focus is shifted from the button to the input.
import { forwardRef, useRef } from 'react';

const CustomInput = forwardRef((props, ref) => {
  return <input {...props} ref={ref} />;
});

export default function SampleForm() {
  const inputRef = useRef(null);

  function handleClick() {
    inputRef.current.focus();
  }

  return (
    <>
      <CustomInput ref={inputRef} />
      <button onClick={handleClick}>
        Show Focus
      </button>
    </>
  );
}
6. Mouse and pointer events
All functionalities exposed through a mouse or pointer event should also be accessed using the keyboard alone.
Let’s take an example mentioned in React accessibility doc, where a user can disable an opened popover by clicking outside the element.

A keyboard cannot receive click events.
But the same functionality can be achieved by using appropriate event handlers instead,
such as onBlur and onFocus.
//mouse event
 onClickHandler() {
    this.setState(currentState => ({
      isOpen: !currentState.isOpen
    }));
  }

  //Keyboard event
  onBlurHandler() {
    this.timeOutId = setTimeout(() => {
      this.setState({
        isOpen: false
      });
    });
  }

  onFocusHandler() {
    clearTimeout(this.timeOutId);
  }
6. Alt Text on Images
The alt attribute is another quick way of making our React app more accessible.
The purpose of the alt text is for the person hearing it to understand the content of the image. It should be specific enough that the person can imagine the image without seeing it.
const AlligatorImg = () => (
  <img
    src='./img/snow_clad_ mountain.png'
    alt='Snow clad mountain'
  />
)
Development assistance for Accessibility
The eslint-plugin-jsx-a11y plugin for ESLint provides AST linting feedback regarding accessibility issues in our JSX.
Create React App
has this plugin with a subset of rules activated.
We can enable even more accessibility rules,
by creating a .eslintrc file in the root of our project
and add the below content -
{
  "extends": ["react-app", "plugin:jsx-a11y/recommended"],
  "plugins": ["jsx-a11y"]
}
Testing accessibility in the browser
A number of tools exist that can run accessibility audits on web pages in our browser like aXe, aXe-core and react-axe. It is recommended to use these tools fot testing the accessibility.
More details on accessibility are available on React accessibility doc.
