Websites that have eye-catching animations are definitely worth investing in. They ensure a holistic experience that sometimes provides a creative essence of storytelling. But, how can we really make such websites? Well, the secret sauce is GSAP.
What is GSAP?
GSAP (GreenSock Animation Platform) is a highly scalable animation library that enables us to add dynamic effects in web apps, games, and interactive stories. With the help of GSAP, we can animate almost everything on the browser.
Why should we use GSAP?
GSAP has a lot of benefits. Some of them are -
- a super-fast and high-performant animation library;
- comprises myriad of features to create the most complex and fascinating animations
- compatible with every browser, libraries, and frameworks
- has the ability to animate every aspect of an element
- lightweight, expandable, and doesn’t require external tools
In this article, we will focus on three GSAP concepts -
- Tweens
- ScrollTrigger
- Timelines
Installing GSAP
The best way of installing GSAP is via CDN.
We can also use npm or simply load GSAP via the script tag. To install GSAP, use
npm install gsap

or

yarn add gsap

or

<script src="https://cdnjs.cloudflare.com/ajax/libs/gsap/3.10.2/gsap.min.js"></script>
Understanding Tweens
In order to create animations with GSAP, the first step would be to implement Tweens. We set the properties that are to be animated, set the duration of the animation, basic sequencing by using delay in tweens. Check here for the complete documentation of tweens.
There are three common methods for creating a Tween:
-
gsap.to() -
gsap.from() -
gsap.fromTo()
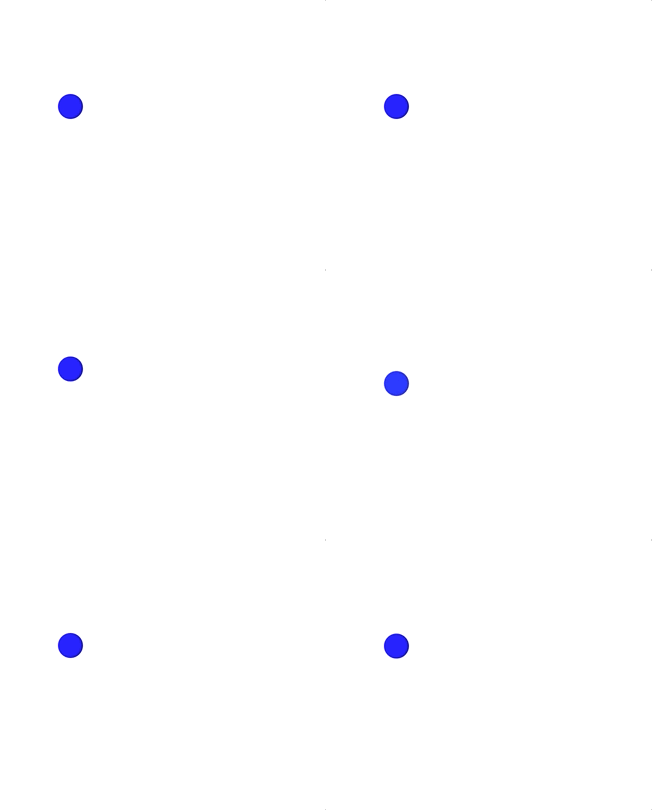
Let’s see the animation of circle using different methods.
//html

<div class="circle"></div>

//css

.circle {
  margin-top: 100px;
  margin-left: 60px;
  height: 25px;
  width: 25px;
  border-radius: 50%;
  display: inline-block;
  background-color: blue
}
gsap.to()
gsap.to(".circle" , {
  ease: 'elastic',
  x: 400,
  scale: 1.5,
  duration: 1
})
gsap.from()
gsap.from(".circle" , {
  y:80,
  opacity:0,
  duration:2,
  ease: 'elastic'
})
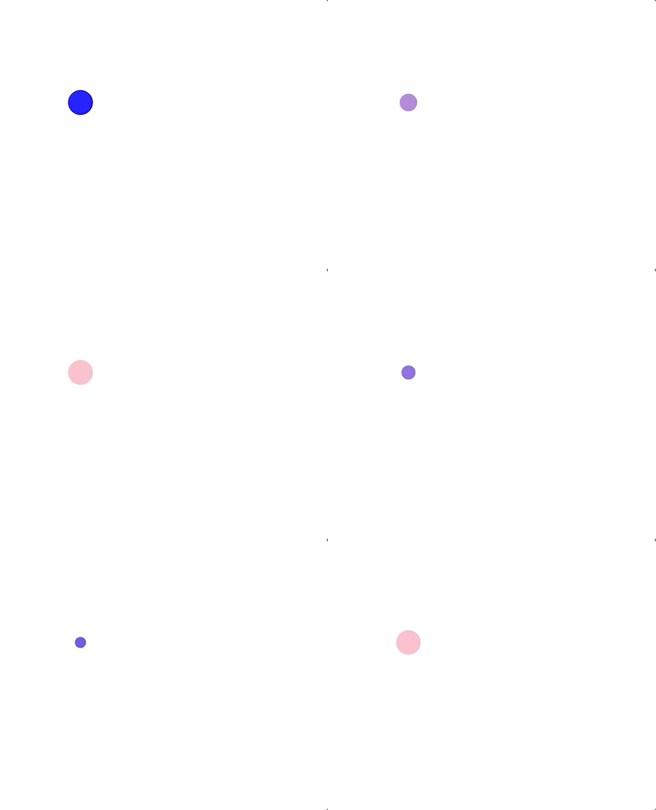
gsap.fromTo()
//Animate the size
and color of a circle from blue to pink,

gsap.fromTo(".circle", {
  backgroundColor: "blue",
  scale: 0
}, {
  backgroundColor: "pink",
  duration: 1,
  repeat: -1,
  yoyo: true,
  scale: 1
})
Understanding ScrollTrigger
GSAP ScrollTrigger is one of the several plugins that GSAP comprises. ScrollTrigger enables us to craft scroll-based animations with less code. Check out the ScrollTrigger documentation here.
ScrollTrigger has the ability to take certain actions on animations such as playing, pausing, resetting, reversing, and so on, while entering/leaving the given area or viewport.
To install ScrollTrigger, we need the following code-
<script src="https://cdnjs.cloudflare.com/ajax/libs/gsap/3.8.0/ScrollTrigger.min.js"></script>We have to register the plugin in our JavaScript file main.js,
before using it.
This ensures the seamless functioning of the plugin in GSAP.
gsap.registerPlugin(ScrollTrigger)'We have to link the animation to the element
and drive animations based on the location
of the element in the viewport.
This improves the performance of the animation
and ensures that our beautiful animations are clearly visible.
We can also soften the link between the animation
and the scrollbar using
scrub: 1 so that the animation
takes only 1 second to catch up.
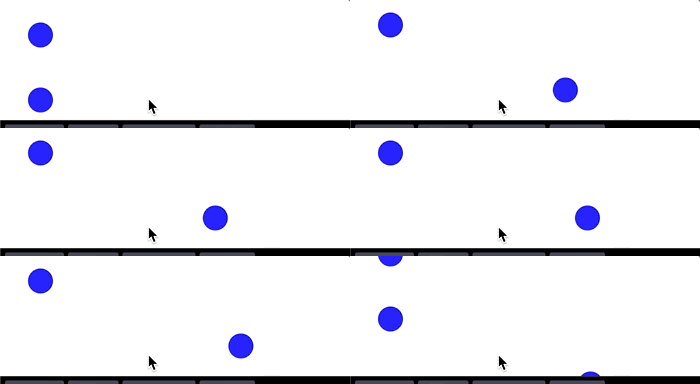
This is how we use ScrollTrigger-
//HTML

<div class="wrapper">
  <div class="circle"></div>
  <div class="circle"></div>
  <div class="circle circle3"></div>
</div>

//CSS

.circle {
  height: 25px;
  width: 25px;
  border-radius: 50%;
  display: inline-block;
  background-color: blue;
  margin-bottom: 10px;
  margin-top: 10px;
}
.wrapper {
  display: flex;
  margin-left: 20px;
  justify-content:flex-start;
  flex-direction: column;
}

//JS

 gsap.to(".circle3", {
      x: 200,
      duration: 2,
      ease: "elastic",
      delay: 1,
      scrub: 1,
      scrollTrigger: {
        trigger: ".circle3",
        markers: true
      }
    });
There are several other things
we can do with ScrollTrigger.
We can snap to
certain points in the animation depending on
the velocity using get.velocity(),
define scroll positions flexibly,
and so on.
Understanding Timelines
Timelines in GSAP is a powerful sequencing tool that makes our job a lot easier, as compared to using Tweens for sequencing. It allows us to control different tween or other timelines in a complete manner, thereby, providing us better control of every tweens timing corresponding to other tweens of the same timeline.
Without Timelines, sequencing would have been a lot
more difficult as we would have had to use delay()
for every animation.
Whether we want to pause, reverse or repeat the sequence, we can do it all at once using Timelines. Look at the code below for better understanding-
var tl = gsap.timeline({repeat: 2, repeatDelay: 1});
tl.to(".circle", {x: 300, duration: 1});
tl.to(".circle", {y: 100, duration: 1});
tl.to(".circle", {opacity: 1, duration: 1});

// control the whole element
tl.pause();
tl.resume();
tl.restart();
tl.reverse();
Real-world example of using GSAP
Recently, at Saeloun, we revamped our website and used GSAP library to animate different elements to make the page look even more appealing. Look at the video below. The moving petals are the elements that have been animated through GSAP library.

Now, let’s go over the process.
As per the width and height,
random calculates a number between minimum
to maximum
and assigns that number to the petal(GSAP animation).
const Petal = ({w, h}: PetalProps) => {
  const random = (min: number, max: number) => {
    return min+Math.random()*(max-min);
  };
Now, we have to transfer the elements from HTML file. Next, we control the animation(petals) in various ways. We set the origins and define the values to spin the elements in the desired pattern.
 const boxRef = useRef<HTMLDivElement>() as RefObject<HTMLDivElement>;

   useEffect(() => {
    gsap.set(boxRef.current, { x: random(0, w), y: random(0, h),z: random(-200,200)});
    gsap.to(boxRef.current,random(6,15),{y: h-20,ease: Linear.easeNone,repeat:-1,delay:-15});
    gsap.to(boxRef.current,random(4,8),{x: w,rotationZ:random(0,180),repeat:-1,yoyo:true,ease:Sine.easeInOut});
    gsap.to(boxRef.current,random(2,8),{rotationX:random(0,360),rotationY:random(0,360),repeat:-1,yoyo:true,ease:Sine.easeInOut,delay:-5});
  }, [w, h]);
Final Thoughts
Using GSAP isn’t that tough. All we need is a basic knowledge of HTML, CSS, CSS transitions, and JavaScript. The codes and concepts are easy enough to understand even if one has never used GSAP before.
