This is a series on setting up Kubernetes clusters in Amazon EKS.
In this post, we will setup Kubernetes Dashboard on AWS EKS Cluster.
Prequisites
Have Amazon EKS Cluster ready. For more information please visit Getting started with AWS EKS. This set up has been tested on Kubernetes Cluster V1.24
1. Deploy Kubernetes Dashboard
Apply the dashboard using the following-
kubectl apply -f https://raw.githubusercontent.com/kubernetes/dashboard/v2.4.0/aio/deploy/recommended.yaml
The output is as follows
namespace/kubernetes-dashboard created serviceaccount/kubernetes-dashboard created
service/kubernetes-dashboard created secret/kubernetes-dashboard-certs created
secret/kubernetes-dashboard-csrf created
secret/kubernetes-dashboard-key-holder created
configmap/kubernetes-dashboard-settings created
role.rbac.authorization.k8s.io/kubernetes-dashboard created
clusterrole.rbac.authorization.k8s.io/kubernetes-dashboard created
rolebinding.rbac.authorization.k8s.io/kubernetes-dashboard created
clusterrolebinding.rbac.authorization.k8s.io/kubernetes-dashboard created
deployment.apps/kubernetes-dashboard created
service/dashboard-metrics-scraper created
deployment.apps/dashboard-metrics-scraper created
2. Create an eks-admin Service Account
We need to create a service account with a cluster binding role to connect to the dashboard.
cat >eks-admin-service-account.yaml <<EOF
apiVersion: v1
kind: ServiceAccount
metadata:
  name: eks-admin
  namespace: kube-system
---
apiVersion: rbac.authorization.k8s.io/v1
kind: ClusterRoleBinding
metadata:
  name: eks-admin
roleRef:
  apiGroup: rbac.authorization.k8s.io
  kind: ClusterRole
  name: cluster-admin
subjects:
- kind: ServiceAccount
  name: eks-admin
  namespace: kube-system
EOF
Apply the service account + cluster role bindings
kubectl apply -f eks-admin-service-account.yaml
3. Create an Authentication Token
To connect to the dashboard first we need to create a Token.
kubectl create token eks-admin -n kube-system
The output is the token itself, something like
eyJhbGciOiJSUzI1NiIsImtpZCI6IjI4NGNhNDY3MjMyOGQwOTJiYjBkMWViZjIxNDgxM2Y0MzU4ZDZkYjMifQ.eyJhdWQiOlsiaHR0cHM6Ly9rdWJlcm5ldGVzLmRlZmF1bHQuc3ZjIl0sImV4cCI6MTY3ODA5NDUyMiwiaWF0IjoxNjc4MDkwOTIyLCJpc3MiOiJodHRwczovL29pZGMuZWtzLnVzLWVhc3QtMi5hbWF6b25hd3MuY29tL2lkLzQwOTExMUExODU1NkJEOEEzRTUzQUUxOEU3RjA4MjVFIiwia3ViZXJuZXRlcy5pbyI6eyJuYW1lc3BhY2UiOiJrdWJlLXN5c3RlbSIsInNlcnZpY2VhY2NvdW50Ijp7Im5hbWUiOiJla3MtYWRtaW4iLCJ1aWQiOiJkYWQwYWQxNy0xZWUzLTRlMmMtYTcwOC1jN2RhOWM5YTExYzUifX0sIm5iZiI6MTY3ODA5MDkyMiwic3ViIjoic3lzdGVtOnNlcnZpY2VhY2NvdW50Omt1YmUtc3lzdGVtOmVrcy1hZG1pbiJ9.XD_MSrQTwoBB9Zg1_5R0fu1lZJjqDUNM8dX5yJyay3iDhcCI9SHP7Nx6OxA-tLJ78Mzav8UR56L_Ufhzm0-x2I5yCnDl4MaGzogoIE0NF6vDILL3ljA7U9PoPPMBT3O6GHycxIzXy3HgBsLTR_7M5exGmV3rdiCrQ-lJ2-JDp4KBvkYqDiWZ-eD-W9PVTpfk3kSoeWrynueavOKql1nuHHNgW6YPc8ckxcvrGP7JnVYqATVN7H7iYT5RJj3-IDRJBn3IjLJdWb0s7_LvW6WwoCFQeKyKd7dd3sFGH_-6NZU7ryk5VYVYmMIIbOL6gXgDPz1sPJKbEwYYZ27aYxIVTw
4. Connect to Dashboard
Start Kubectl Proxy
kubectl proxy
To access the dashboard, open the link in a web browser http://localhost:8001/api/v1/namespaces/kubernetes-dashboard/services/https:kubernetes-dashboard:/proxy/#/login
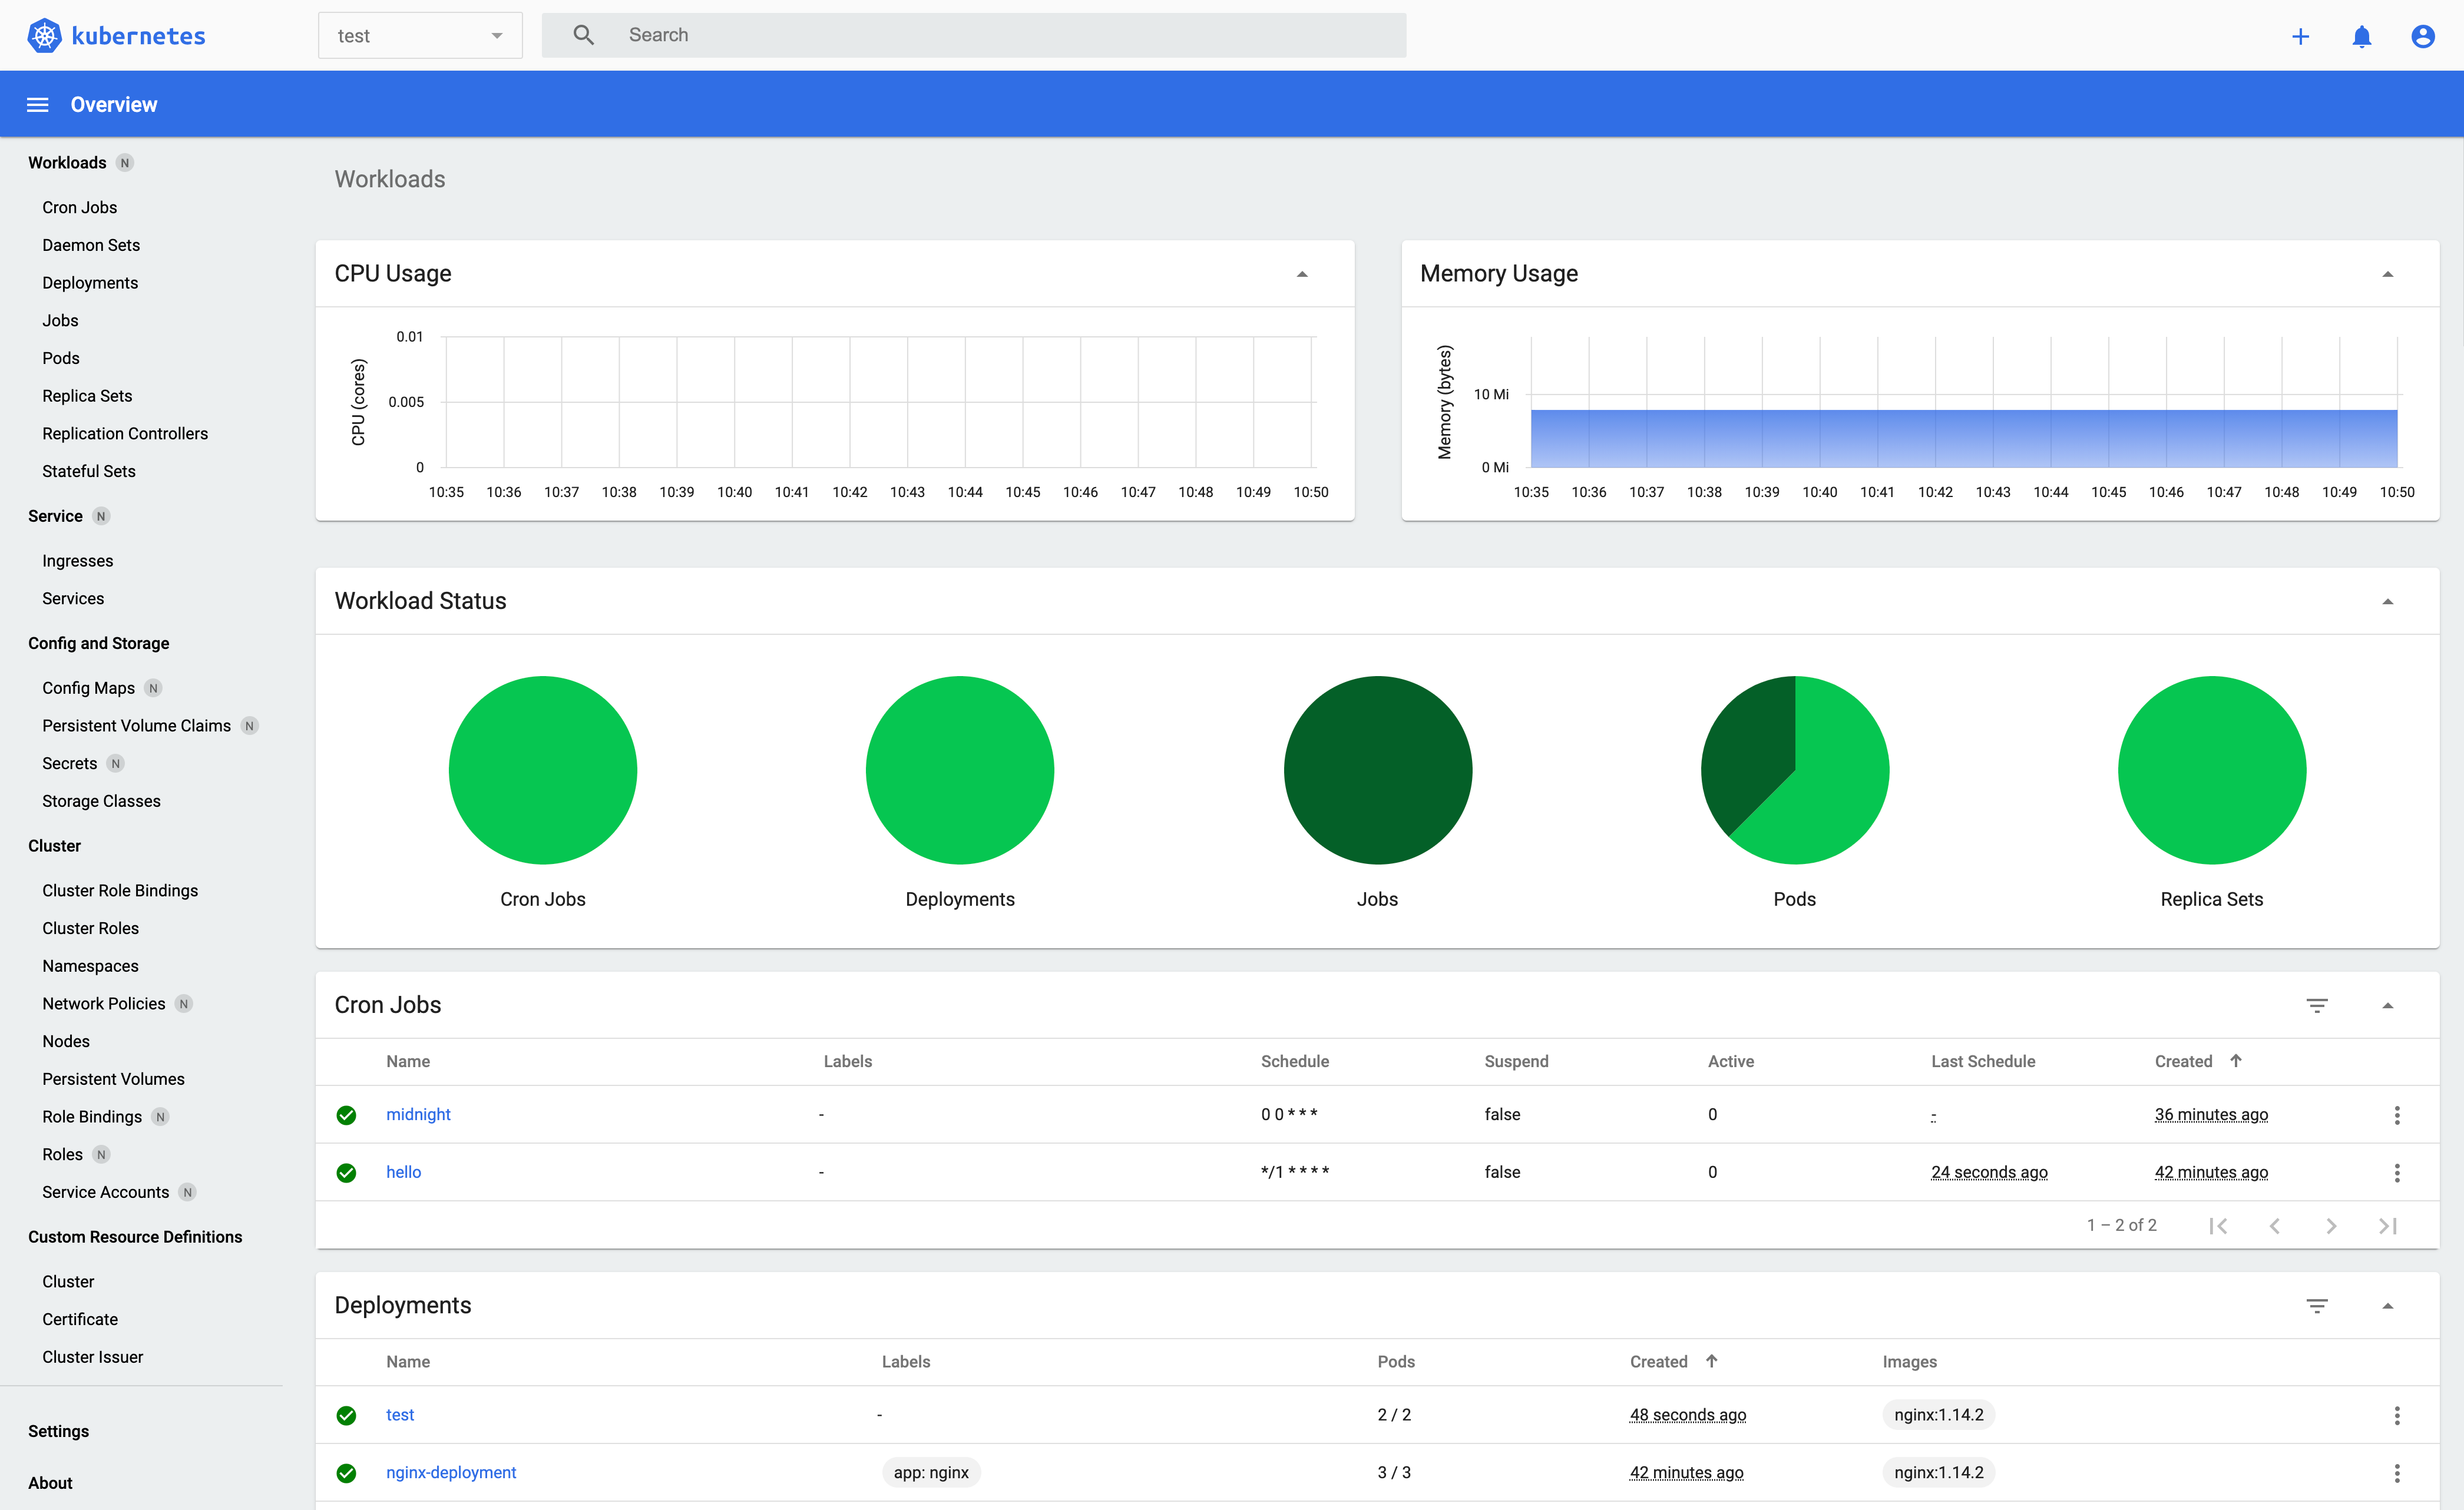
This will open the Kubernetes Dashboard in the Web Browser.

For more information on customising metrics please visit kuberneties docs.
